Estimated time to complete: less than 5 minutes
Setting up your gaming controller for use with Tesla Arcade will only take a moment. Follow this guide for a step-by-step tutorial.
Step 1: Remove Game Controller Components
Your Gaming Pack came with several key components:
- Game Controller
- Wireless USB adapter (plugs into your Tesla)
- USB A -> USB C adapter (for use with your USB C Tesla ports)
- USB Cable (for wired gaming and/or charging the game controller)
- Hard travel case with zipper
Remove these items from the box and identify each of them prior to getting started.
Step 2: Plug-in wireless USB adapter to your Tesla
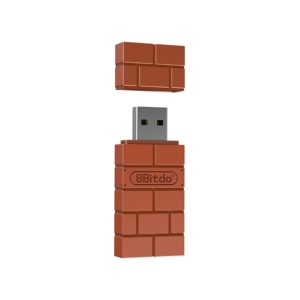
Locate your Wireless USB adapter (pictured below) and remove the cap.

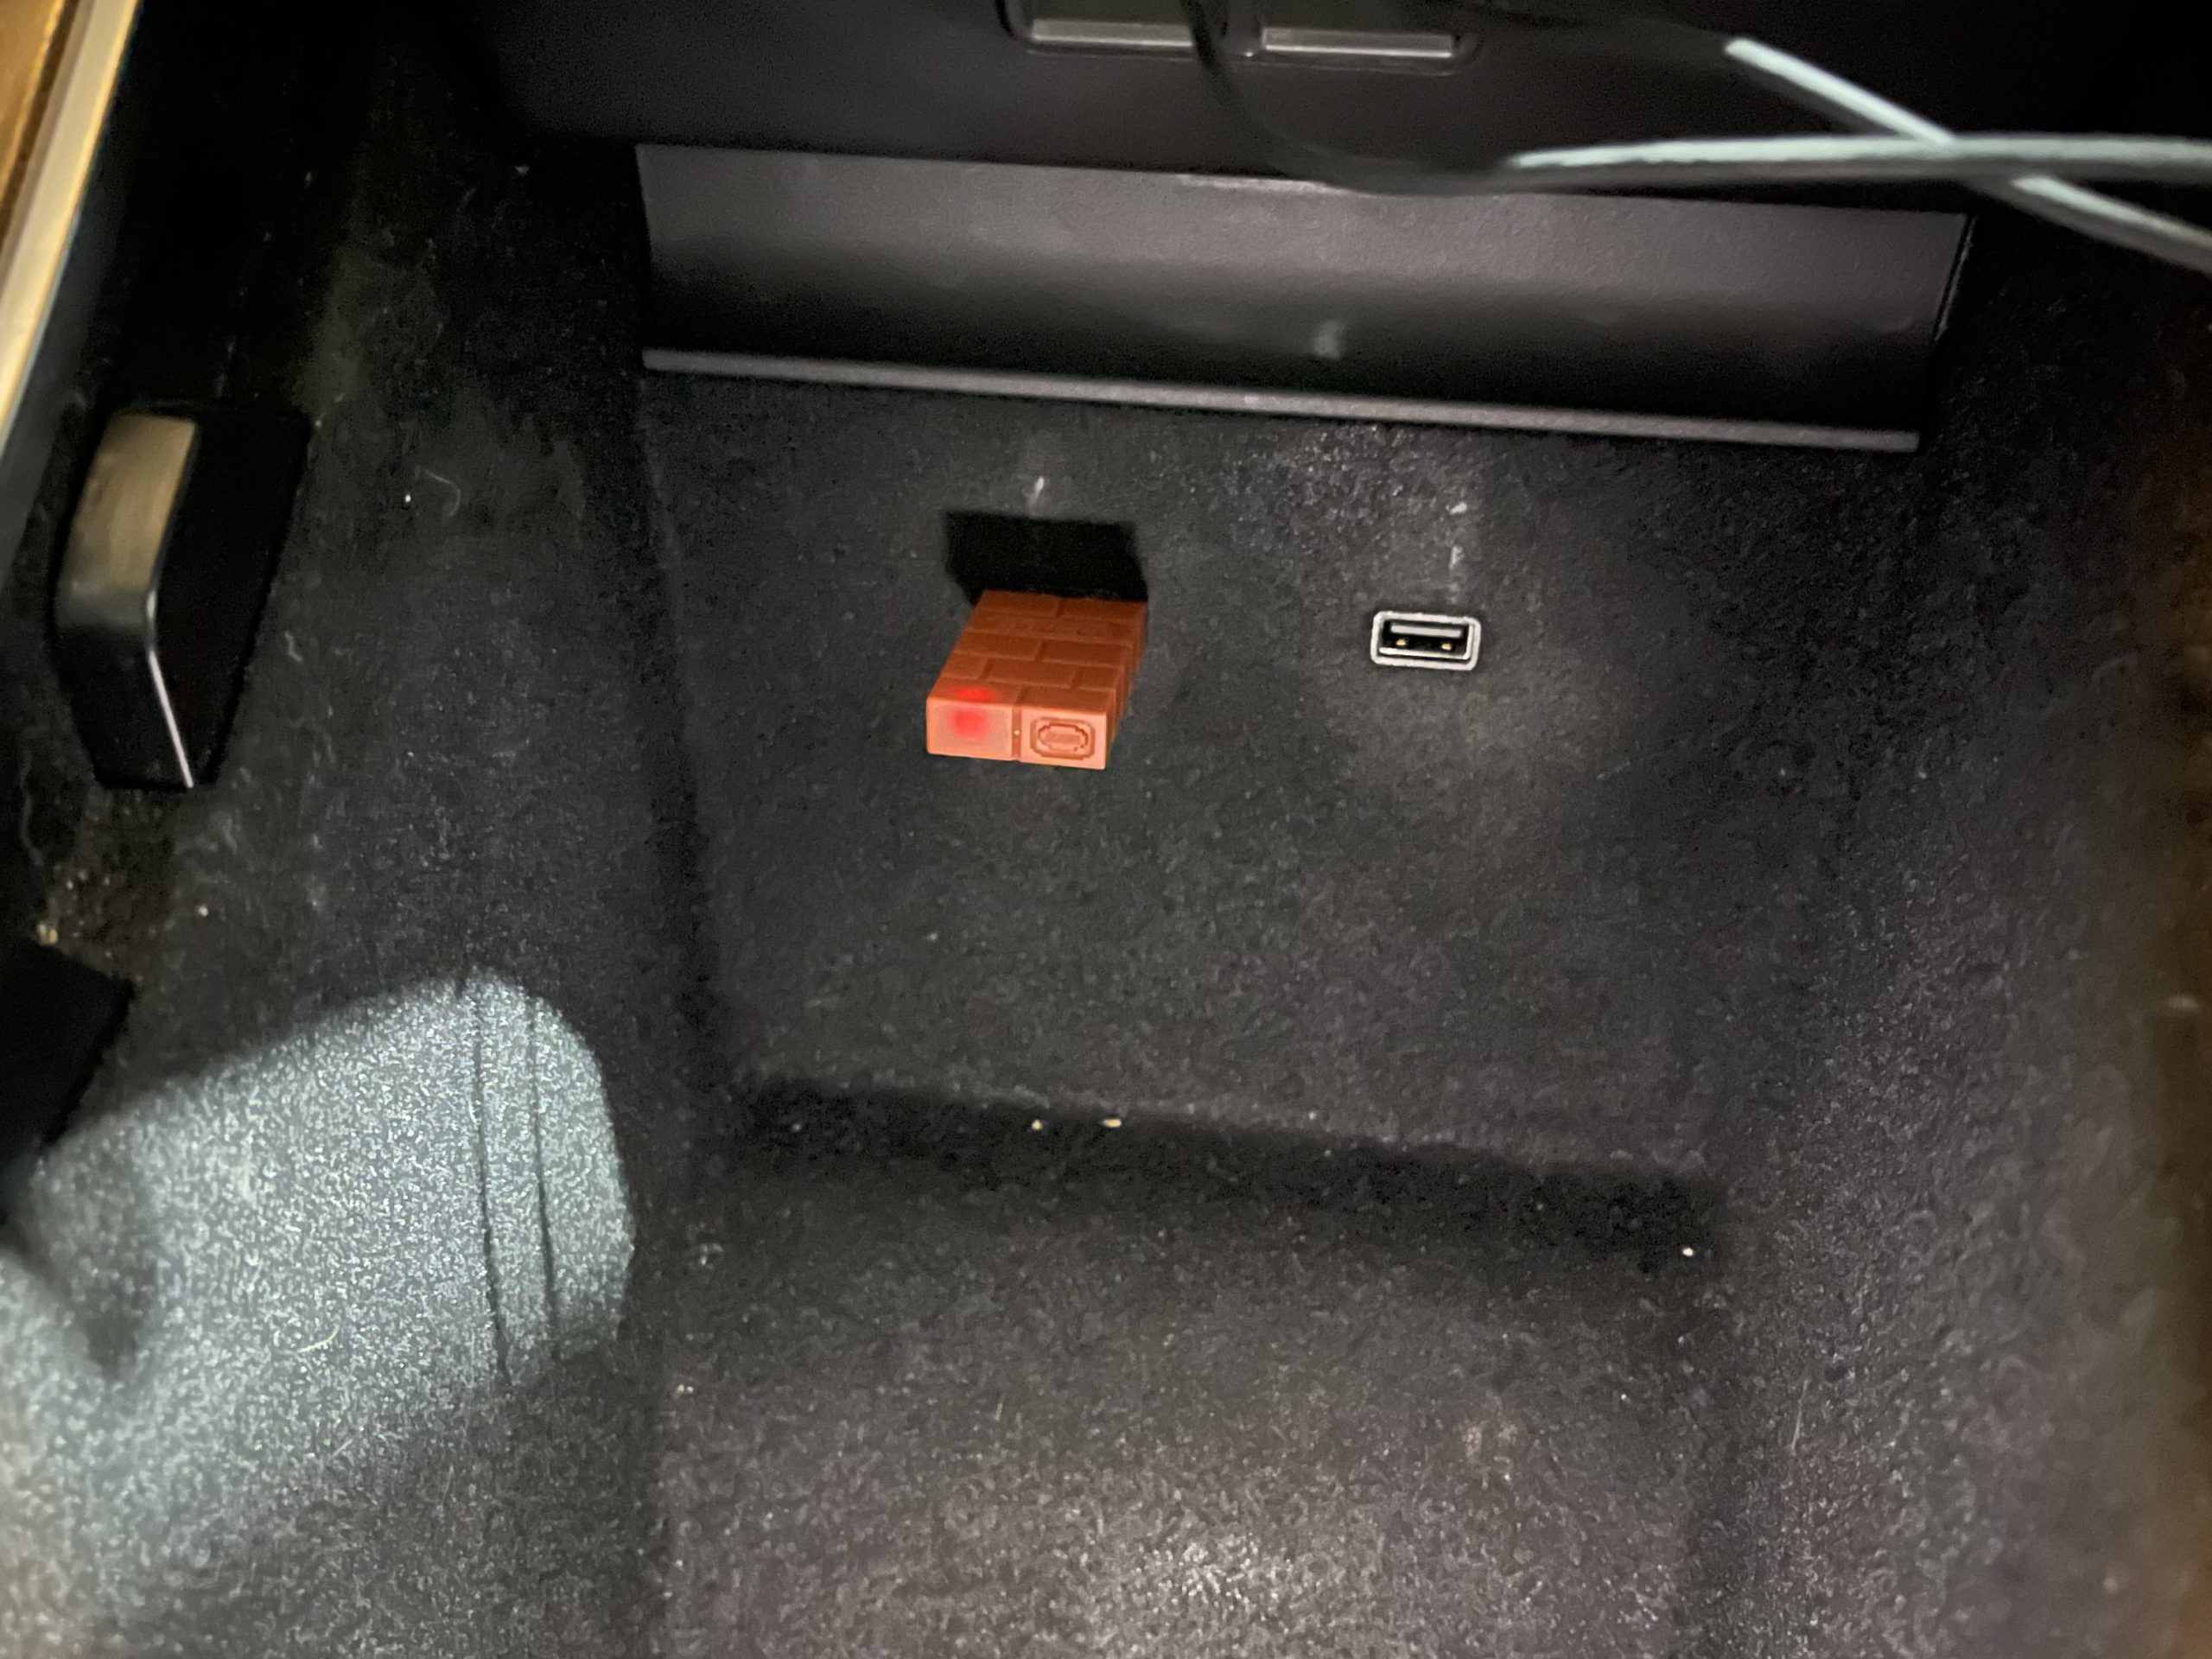
Insert the USB adapter into a front USB port in your Tesla. Use the included USB A -> USB C adapter to plug your wireless adapter into a USB C port (if equipped).

Step 3: Power on Game Controller
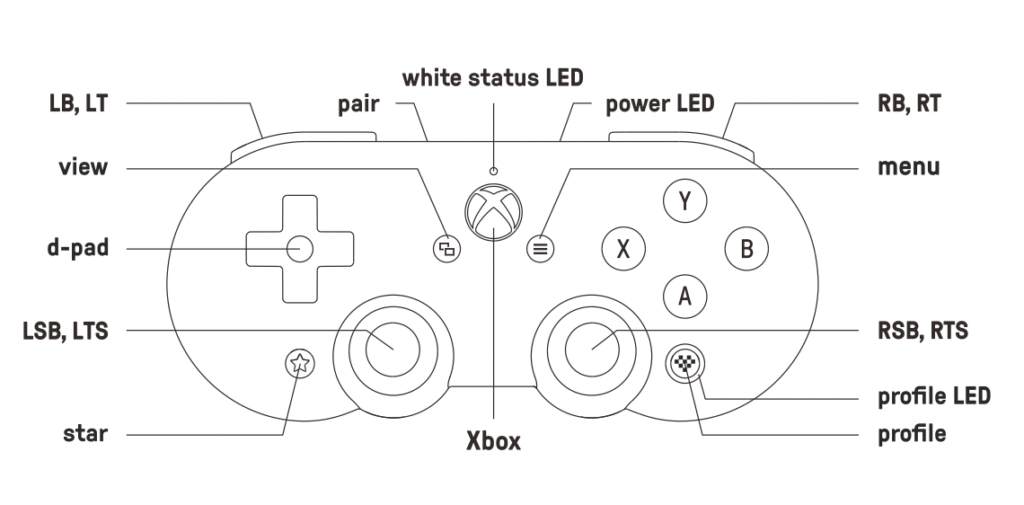
Take the game controller out of the travel case. Press the power button (Xbox Button) once. The light will flash white for several seconds until it connects to the wireless adapter that is plugged into your Tesla. Once paired, the light will remain solid white.
The controller and adapter were paired by puretesla prior to shipping. Pairing will take place automatically once the adapter is plugged into your Tesla and the controller is powered on.

Step 4: Game on!
Load your favorite game in Tesla Arcade (ours is Beach Buggy Racing 2). Controller support will be recognized automatically.
Pro tip: the acceleration for Beach Buggy Racing 2 on this controller is the RT key (see above).


